This guide details how to export your Bidders from the Webtron Dashboard via the Users & Groups > Users > Export These Users feature, how to then check and format your CSV Spreadsheet export and then upload it to Mailchimp.
Export These Users overview
The Export These Users feature in the Users & Groups > Users menu enables you to export your full user list, providing you properly configure your Modify Filter parameters first.
Export These Users will generate and download an exportUsers.csv containing the following:
- Each Bidder’s (User) provided:
- Full Name
- Mailing/Street Address
- Contact Information
- Email Address
- Main Phone Number (Landline or Mobile)
- Additional Mobile Number (Optional)
- Marked consent for Email Marketing and Analytics Usage
Mailchimp’s Import system uses column recognition patterns to identify and match these details without you having to modify the structure (columns) of the userExport.csv the Webtron Dashboard provides. Modifications to the content (hiding certain rows) are required but these changes will be detailed later in this guide.
Stage 1 – Navigating to and Exporting your Bidders (Users)
Exporting your full Bidder List – Step 1 – Access the Users & Groups > Users menu
To get started, log in to the Webtron Dashboard and navigate to the Users & Groups > Users menu:
The Users menu contains the full list of Bidders who have successfully filled out the Create Account form on your Portal.
Exporting your full Bidder List – Step 2 – Open and edit Modify Filter to show your entire Bidder List
Depending on the size of your User list, it may take up to 10 seconds to load. After the User List table loads, click the yellow Modify Filter button at the top-left of the page:
This will open the Modify Filter panel, containing many useful filter options for searching through and displaying specific Bidders. For the purposes of this guide, we’ll only be making one change.
The first filter option is labelled “Account Created Between“. By default the User List will display the last 14 days of sign-ups on your Portal, click the red X next to Account Created Between to clear the filter, then scroll down and click the blue Apply button at the bottom of the Modify Filter panel:
Exporting your full Bidder List – Step 3 – Click Export these Users to download the exportUsers.csv
The User List will now load your entire User database, but will cap the Bidders displayed in the table at 1000 (to prevent loading issues). Clearing the “Account Created Between” filter also primes the Export These Users feature, click Export These Users to generate and download a copy of your entire Bidder list:
Your browser may ask you where you would like to save your exportUsers.csv file, we recommend saving or moving the spreadsheet file and storing it locally on your device, not on cloud storage services such as Google Drive, Microsoft OneDrive or Apple iCloud Drive.
Whilst cloud storage services are a useful method of storing and sharing your files, to ensure the security of your Bidder’s information, we heavily recommend destroying the exportUsers.csv file after you have finished your Mailchimp import.
Stage 2 – Filtering your userExport.csv in Microsoft Excel
Formatting your Bidder List for Import – Step 1 – Open the userExport.csv in Microsoft Excel
Once your userExport.csv file has finished downloading, we recommend opening it in Microsoft Excel:
After opening the userExport.csv in Excel, scroll to the right until you find Column T. This column will be labelled “receive_emails” and all Bidders who ticked “Yes, I would like you to email me about upcoming sales.” on your Portal’s Create Account form will be marked with an “x” under this column:
To be clear, Bidders with an “x” under the receive_emails column have consented to receive your Marketing Emails and can be imported into your Mailchimp Audience. Those with blank cells under this column have not consented to receive your Marketing emails.
Formatting your Bidder List for Import – Step 2 – Enabling and Apply Excel’s Column Filters
You’ll need to filter the User Export spreadsheet and copy the consenting Users to a new spreadsheet before uploading it to your Mailchimp Audience. To do this, ensure the Home tab in Excel is open, then on the right-hand side of the window, click the Sort & Filter dropdown, then click Filter:
Clicking Filter will add a dropdown arrow to the top of each column in the spreadsheet. Click on the dropdown arrow for the receive_emails column (Column T), then untick “blank” and (if Auto Apply is unticked) click Apply Filter:
Formatting your Bidder List for Import – Step 3 – Creating and Saving a new Spreadsheet as a CSV
Your spreadsheet will now show only Bidders who have consented to receive marketing emails from you. Press CTRL A (Command A on macOS) to highlight and select all visible rows in this spreadsheet, then press CTRL N (Command N) to open a new blank spreadsheet, and finally press CTRL V (Command V on macOS) to paste your filtered Bidder list:
You’ve now created a new spreadsheet containing just the Bidders who have consented to receive email marketing, but there’s one last step. Press CTRL SHIFT S (Command Shift S) on your keyboard, this will open the Save As window. From there, give your file a new name, we suggest “Company Name Mailchimp Import DD-MM-YY” (i.e. webtron-mailchimp-25-04-25), then click the dropdown next to the File Format option and select CSV UTF-8 (Comma delimited), and then click Save As:
This is the copy of the Spreadsheet you’ll be uploading to Mailchimp.
Stage 3 – Uploading your formatted Bidder spreadsheet to Mailchimp
Now that you’ve saved your new spreadsheet, open Mailchimp and log in to your account. If you do not have a Mailchimp account, you can sign up for a free account (limited to 500 Audience members and below), click here to open our Creating a free Mailchimp Account guide.
Importing your Bidders into Mailchimp – Step 1 – Open your Audience and click Add Contacts
Once logged in to your Mailchimp, click on the Audience dropdown on the left-hand side of the page, then click the blue-green Add contacts button at the top-right of the page, then click Import contacts:
Importing your Bidders into Mailchimp – Step 2 – Choose Method
This will open the Import Contacts menu starting with the Choose Method tab, tick the Upload a File option, then click Continue to proceed:
Importing your Bidders into Mailchimp – Step 3 – Upload a file
The Upload tab will now appear, drag and drop your formatted spreadsheet from File Explorer/Finder, or click Select a file to open File Explorer/Finder and choose your formatted spreadsheet file directly, then click Continue to proceed:
Importing your Bidders into Mailchimp – Step 4 – Organize your contacts/Select Audience and Update Existing Contacts
The Organize tab will now appear. If you have created multiple Audiences in your Mailchimp, you can choose a different audience by clicking the dropdown here. Tick Update Existing Contacts to ensure any re-imported Bidders also update their existing Mailchimp Audience profile with any changes to their Bidder profile details, then click Continue to proceed:
Importing your Bidders into Mailchimp – Step 5 – Tag your Imported Contacts (Optional)
The Tags tab will now appear. Adding Tags to your Audience Imports enables you to more precisely organise your Audience overall, but this is completely optional. Select from the Popular Tags, click the dropdown to choose from your existing tags or create a new one, or just click Continue to proceed:
Importing your Bidders into Mailchimp – Step 6 – Match Columns to Mailchimp Fields
The Match tab will now appear. This tab will display the Column Names from the User Export spreadsheet, the Mailchimp Field that Mailchimp will automatically match that column’s contents to, and then a preview of the data that will fill in the matched Mailchimp field:
We recommend scrolling down this table and checking that the First Name, Last Name, Address (Combined), Phone Number and, most importantly, the Email Address previews all look correct. After reviewing the Matched Columns, click Continue to proceed:
Importing your Bidders into Mailchimp – Step 7 – Confirm Import Subscription Status
The Subscribe tab will now appear. By default, all new Imported Audience members are set as Subscribed. Subscribed in Mailchimp means that Bidder will receive your Mailchimp email campaigns, but they have the option to Unsubscribe at any time.
Keep Subscribe selected, any Bidders who have Unsubscribed will not be affected as long as you ticked Update Existing Contents during Step 4. Click Finalize Import to proceed:
Importing your Bidders into Mailchimp – Step 8 (Final Step) – Confirm and Finalize Import
The Complete Import tab will now appear. This tab will display an estimate of how many Audience members will be imported, as well as confirm your choices during the Import steps, such as Update Existing Contacts – Yes, and any Tags you have assigned. Click Complete Import to proceed:
After hitting Complete Import, you’ll see a confirmation message that your Import is underway, an estimate of how many Audience members have been successfully imported and if there were any errors during import.
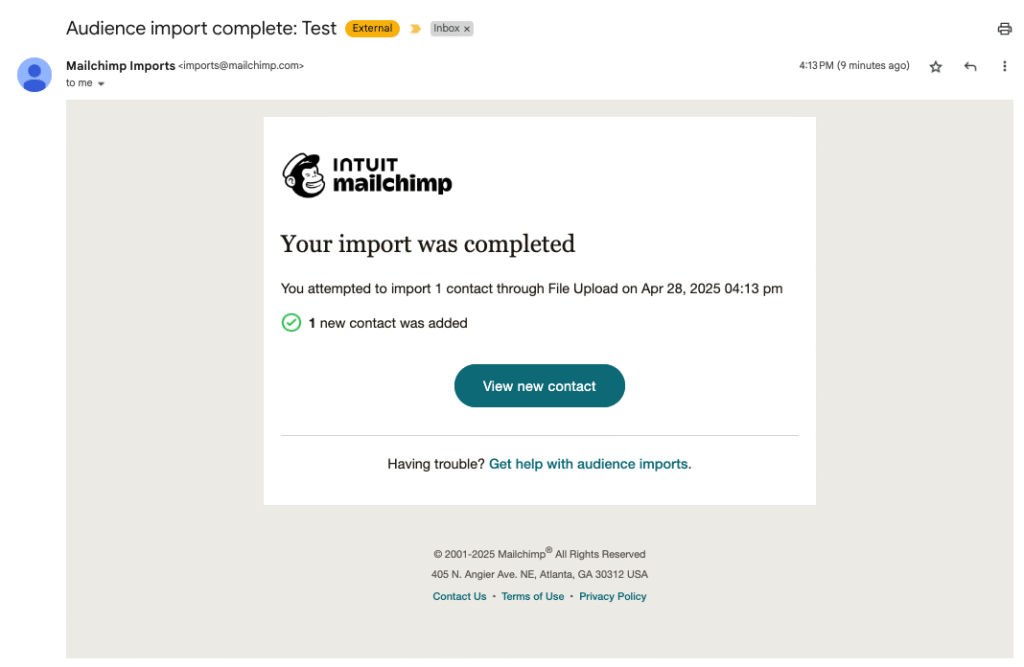
If your import is quite large, Mailchimp may tell you to check back later for the final updated Audience total. You’ll receive this email notification to confirm your Import has fully completed: